Homemade MP3 Player Modeled After the iPod
In the world of DIY electronics, music enthusiasts are constantly seeking innovative ways to create their own MP3 players. Two notable projects that have gained attention are Justinas Petkauskas's JPL.mp3 and the ESP32-S3 MP3 player.
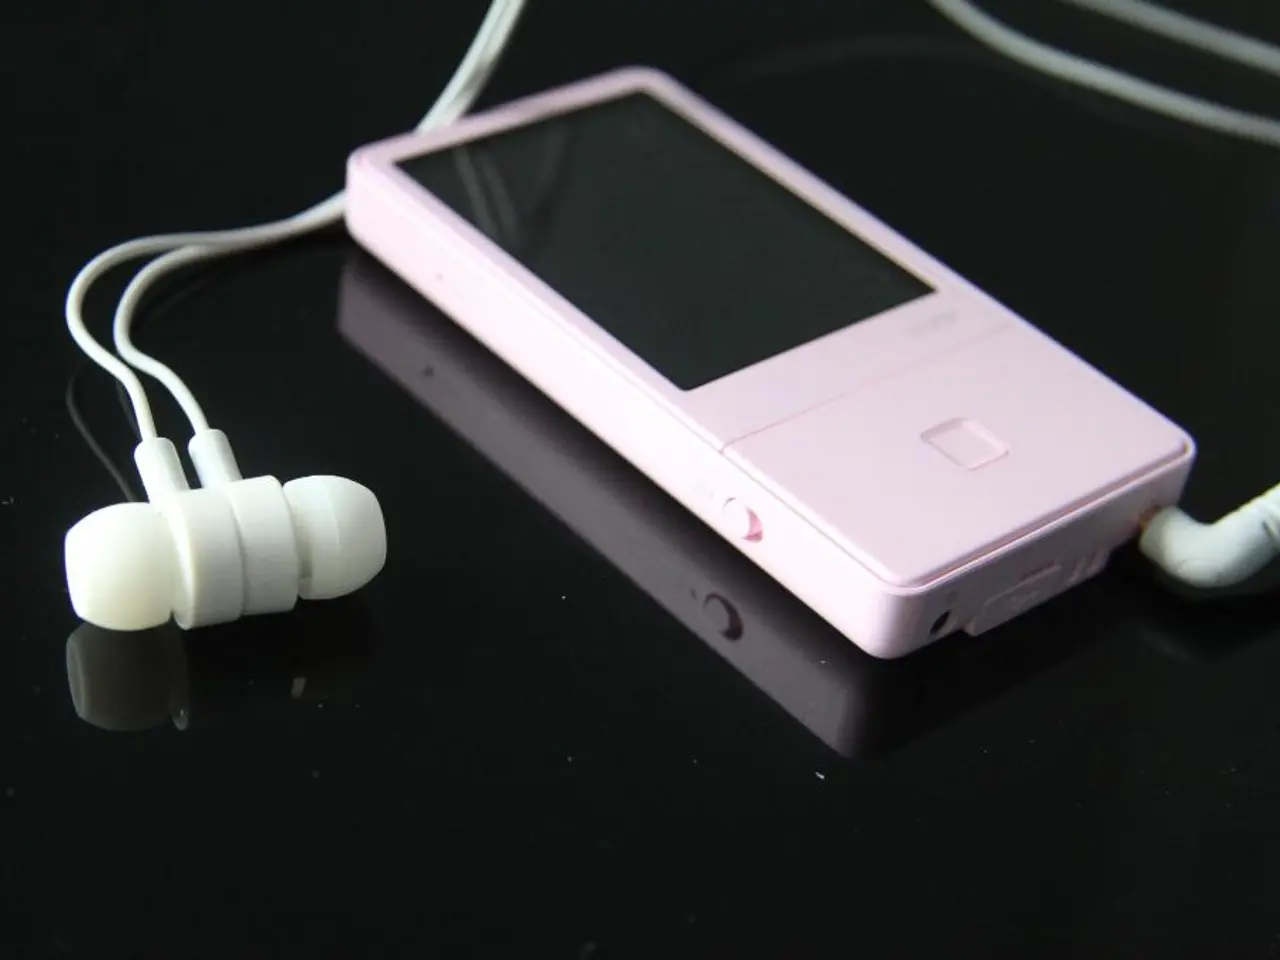
Justinas Petkauskas's JPL.mp3 project is a personalised take on a much-enjoyed commercial product, the iPod. Petkauskas describes the final build of the JPL.mp3 device as "chunky, but nevertheless functional." The device features a small IPS LCD for display and a mechanical click-wheel for user interaction, resembling classic iPods. The JPL.mp3 project is assembled into a 3D printed case, and Petkauskas developed custom software for organising music on the device using a SQLite database.
On the other hand, the ESP32-S3 MP3 player project offers a more DIY approach. This project uses a custom four-layer PCB to connect the electronics and is open for others to build their own similar hardware. The software for this device does not mention the use of any specific programming language, but it does include fields for composer/piece, conductor, orchestra, or performer. The ESP32-S3 MP3 player does not have any repeated facts from the JPL.mp3 project.
For those interested in creating their own ESP32-S3 MP3 player with a mechanical click-wheel, here's a step-by-step guide:
- Use a rotary encoder for wheel rotation sensing.
- Use multiple push buttons for click inputs.
- Connect these inputs to ESP32-S3 GPIO pins and program the logic to translate rotations into track selection or volume adjustment.
- Use the ESP-ADF or Arduino audio libraries to handle MP3 playback from the microSD card.
- Optionally, add a small display to show song information or menu options.
The ESP-ADF offers official Espressif audio libraries and examples for MP3 decoding and playback on ESP32 devices. To interface a microSD card module with the ESP32-S3, you'll need to wire it typically through SPI and format the card as FAT32. Tutorials outline the wiring and coding steps for reading files from microSD cards on the ESP32.
While there is limited direct documentation on ESP32 projects with a mechanical click-wheel, you can build one using rotary encoders and push buttons to replicate the click-wheel's rotation and click features. The rotary encoder outputs pulses corresponding to rotational movement, which the ESP32 can read through GPIO pins to navigate tracks or change volume. Push buttons can be wired to trigger play/pause or menu selections.
In summary, your best approach is to use Espressif’s official ESP-ADF for audio playback, pair it with microSD card storage, and build a physical user interface using a rotary encoder as the click-wheel along with pushbuttons for control, thus creating a DIY tactile MP3 player on ESP32-S3. This approach is consistent with existing ESP32 MP3 player projects and hobbyist rotary encoder implementations.
Meanwhile, Justinas Petkauskas's JPL.mp3 project uses a PCM5102 DAC connected via I2S for audio playback and a micro SD card interface for music storage. Although it does not mention the use of any specific programming language for its software, it offers a more polished and personalised alternative for music enthusiasts who appreciate the tactility and portability of the iPod.
Technology enthusiasts can explore electronics gadgets like the ESP32-S3 MP3 player, a DIY project using a custom four-layer PCB, or they can delve into the hardware of Justinas Petkauskas's JPL.mp3, a personalized version of the iPod, featuring a mechanical click-wheel and a small IPS LCD.


