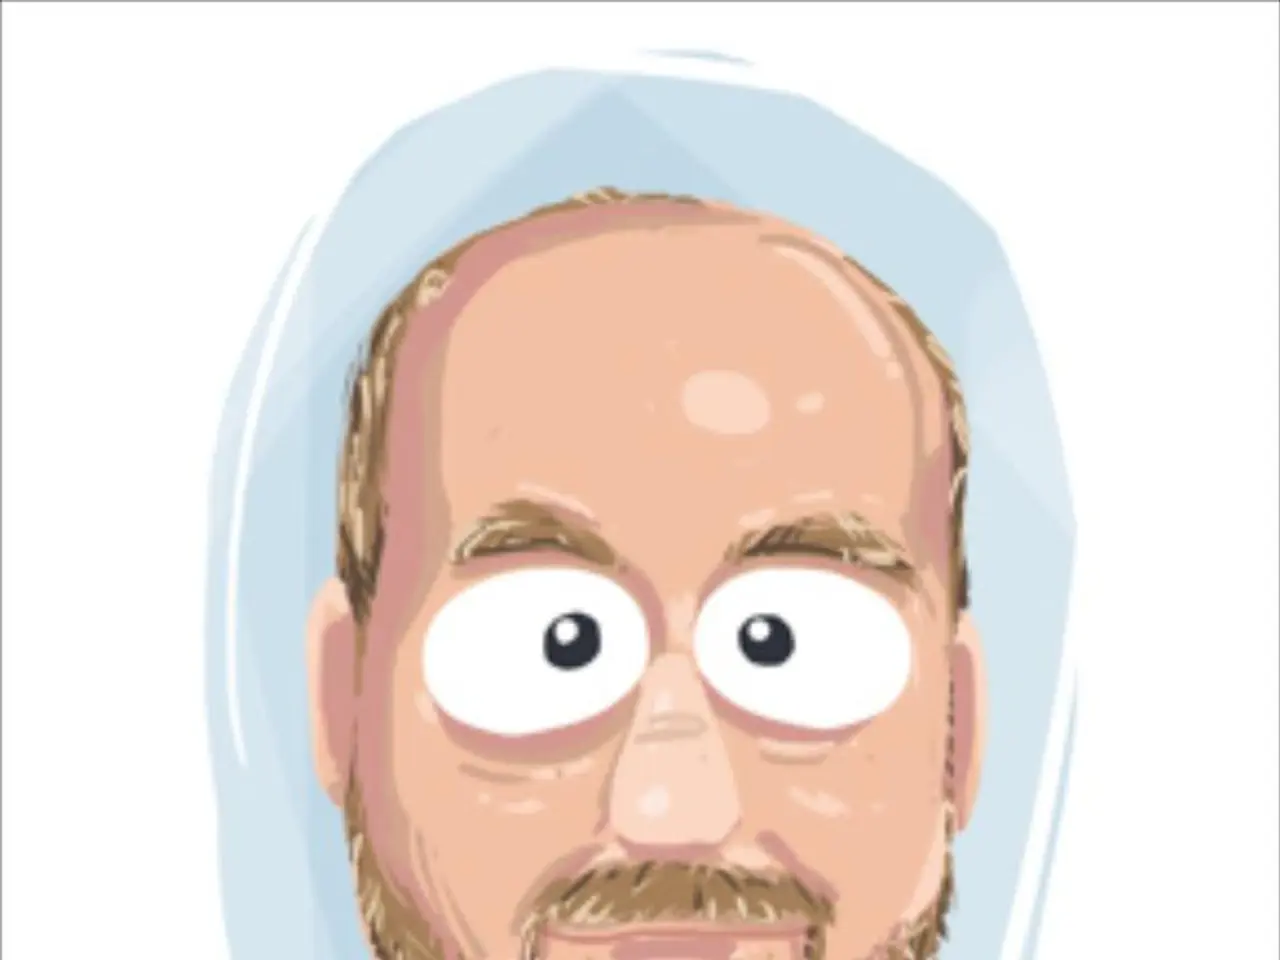
Transforming an Image with OpenCV via Python code
Transform a regular photo into a fun, animated-style picture with the help of OpenCV, a popular computer vision library. Here's a step-by-step guide on how to achieve this effect.
Steps for Creating a Cartoon Effect
- Load the Image: Read the input image and resize it if required for faster processing.
```python import cv2
img = cv2.imread('input.jpg') img = cv2.resize(img, (640, 480)) # Resize for faster processing (optional) ```
- Convert to Grayscale and Apply Median Blur: Convert the image to grayscale and apply median blur to reduce noise.
- Detect Edges: Use adaptive thresholding to find edges dynamically for varying lighting.
- Apply Bilateral Filter: Apply a bilateral filter to smooth colors while preserving edges, giving a "painted" look.
- Combine Edges and Color Image: Use a bitwise AND operation to mask the color image with the edge mask, resulting in cartoon outlines over smooth colors.
- Display or Save the Cartoonified Image: Show or save the final cartoon image.
Explanation
- The median blur reduces noise while keeping edges intact for edge detection.
- The adaptive threshold finds edges dynamically for varying lighting.
- The bilateral filter smooths flat color regions but preserves edges, giving a painted look.
- The bitwise AND masks the color image with the edge mask, resulting in cartoon outlines over smooth colors.
This approach closely follows the typical cartoonification pipeline described in tutorials using OpenCV with Python [1]. Enjoy creating cartoonified images with your own photos!
[1] https://docs.opencv.org/master/d7/d8b/tutorial_cartoonization.html
Read also:
- Adjusted logistics being influenced by the recent manufacturing procedures
- Interview with Jimmy Mesta, Co-Founder and CTO of RAD Security, on the Real-Time Defense Company
- Exploring Advanced Methods in Creating Virtual Reality Applications
- US Television Embraces FLOKI's Valhalla MMORPG, Honoring a 60-Day Nationwide Advertising Campaign